MightyTiles tutorial – first steps HowTo
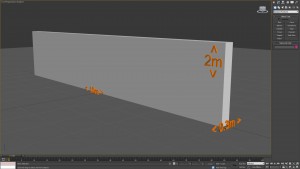
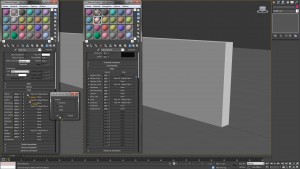
Let's start with a box. Make it 10m x 2m x 0.3m in size.
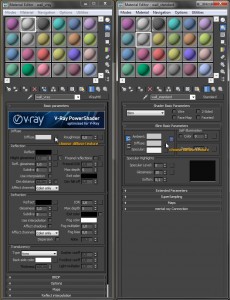
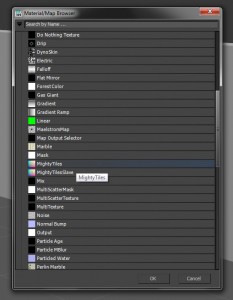
Assign a material to your box and click the button next to the diffuse color. The image shows a VRay material on the left and a Standard (Scanline) material on the right. Choose the 'MightyTiles' texture from the Material Map Browser.
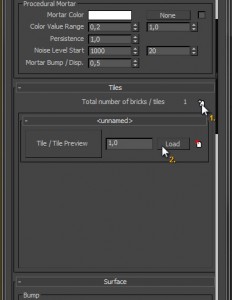
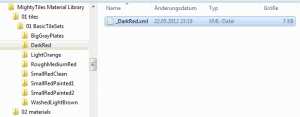
The MightyTiles texture window will now open inside the material editor. Set the 'Aspect ratio' to 1.0 and scroll down to the 'Tiles' rollout. Add a new tile set (1) and load one from the material library available with MightyTiles (2).
I chose the 'DarkRed' bricks set for this tutorial.
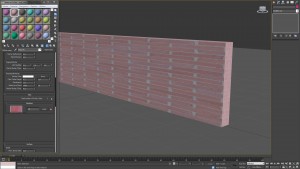
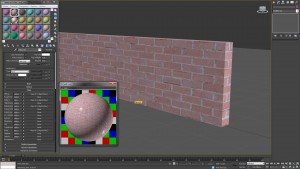
You can see that our bricks look stretched. This is because our texture coordinates don't fit. One of the very first things we did was to set the 'Aspect ratio' to 1.0 which means the width and the height of our texture coordinates have to be the same size. The automatically added UV coordinates of our box do not fulfil these needs so we add a modifier to the mesh.
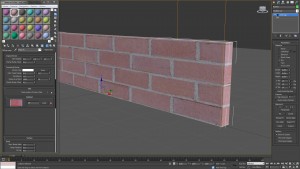
This is how it looks after adding an UVW Map modifier. Change the gizmo of the modifier until you are satisfied with the result.
It's now time to change the number of bricks by changing the 'Rows' value in the 'Common' rollout of our MightyTiles texture. I chose 50 rows.
MightyTiles doesn't just bring you diffuse textures. Every tile set has all the needed chanels included as well and even recognizes the corresponding map slot! You just need to drag & drop the MightyTiles texture to each slot and and choose 'instance'. The left material editor window shows a VRay material, the right one is for a Standard material.
You can now tune the maps directly inside your material or inside the MightyTiles texture. I tend to use the first method because it seems to be much quicker.
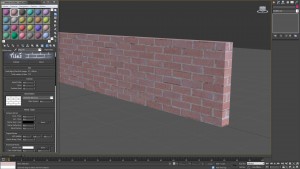
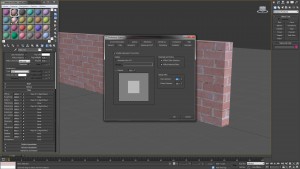
As you may have noticed, our texture looks a bit washed out. We can handle this by adjusting the 'Gamma and LUT setting' of 3D Studio Max. Set the 'input gamma' to 2.2 and MightyTiles will automatically adjust the brick texture.
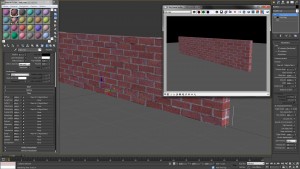
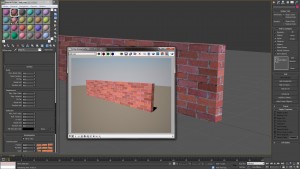
The bricks now look much more realistic. We do now add some displacement to our wall by adding a VRayDisplacementMod to the stack of our box. After we've done that, drag & drop the MightyTiles texture into the 'texmap' slot of the displacement modifier and adjust the settings to your needs.
MightyTiles has very nice randomization parameters, making it possible to create extremely huge textures without visible tiling effects, such as position, rotation, scale and also hue, saturation and value.
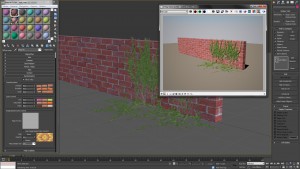
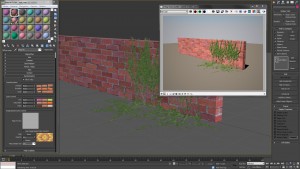
This is what I came up after some parameter adjustments. By the way: MightyTiles didn't create ivy ![]()
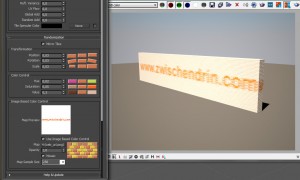
If you want more control over your texture, MightyTiles can even add 'Image Based Color Control' to directly modify the colors of your bricks with a texture and create a mosaic effect.
To change bump, displacement and reflection values randomly, you can adjust the corresponding values in the 'Surface' rollout.
I hope this will help you understand MightyTiles and I wish you loads of fun with this great plugin!
