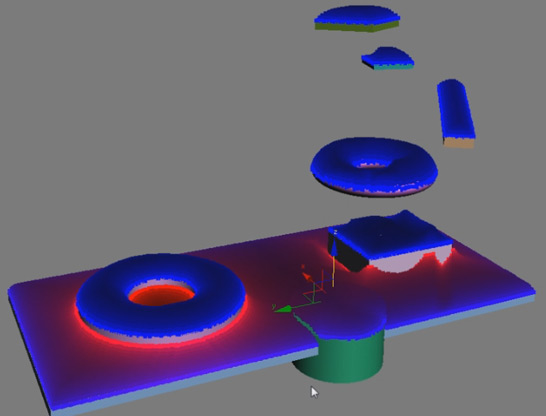
MightyTiles tutorial – first steps HowTo
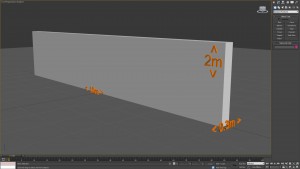
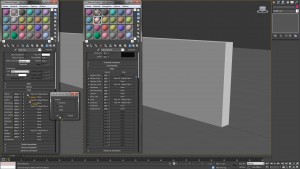
Let's start with a box. Make it 10m x 2m x 0.3m in size.
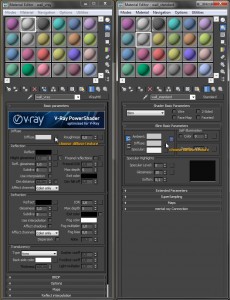
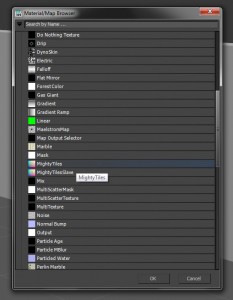
Assign a material to your box and click the button next to the diffuse color. The image shows a VRay material on the left and a Standard (Scanline) material on the right. Choose the 'MightyTiles' texture from the Material Map Browser.
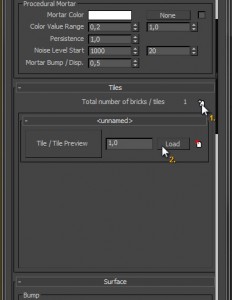
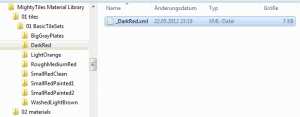
The MightyTiles texture window will now open inside the material editor. Set the 'Aspect ratio' to 1.0 and scroll down to the 'Tiles' rollout. Add a new tile set (1) and load one from the material library available with MightyTiles (2).
I chose the 'DarkRed' bricks set for this tutorial.
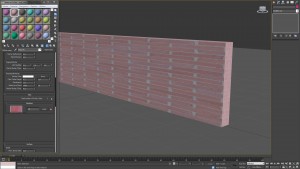
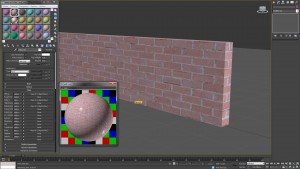
You can see that our bricks look stretched. This is because our texture coordinates don't fit. One of the very first things we did was to set the 'Aspect ratio' to 1.0 which means the width and the height of our texture coordinates have to be the same size. The automatically added UV coordinates of our box do not fulfil these needs so we add a modifier to the mesh.
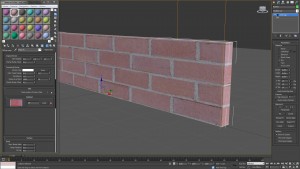
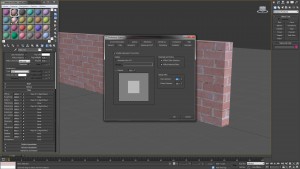
This is how it looks after adding an UVW Map modifier. Change the gizmo of the modifier until you are satisfied with the result.
It's now time to change the number of bricks by changing the 'Rows' value in the 'Common' rollout of our MightyTiles texture. I chose 50 rows.
MightyTiles doesn't just bring you diffuse textures. Every tile set has all the needed chanels included as well and even recognizes the corresponding map slot! You just need to drag & drop the MightyTiles texture to each slot and and choose 'instance'. The left material editor window shows a VRay material, the right one is for a Standard material.
You can now tune the maps directly inside your material or inside the MightyTiles texture. I tend to use the first method because it seems to be much quicker.
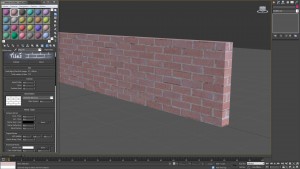
As you may have noticed, our texture looks a bit washed out. We can handle this by adjusting the 'Gamma and LUT setting' of 3D Studio Max. Set the 'input gamma' to 2.2 and MightyTiles will automatically adjust the brick texture.
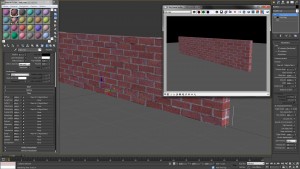
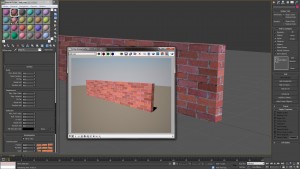
The bricks now look much more realistic. We do now add some displacement to our wall by adding a VRayDisplacementMod to the stack of our box. After we've done that, drag & drop the MightyTiles texture into the 'texmap' slot of the displacement modifier and adjust the settings to your needs.
MightyTiles has very nice randomization parameters, making it possible to create extremely huge textures without visible tiling effects, such as position, rotation, scale and also hue, saturation and value.
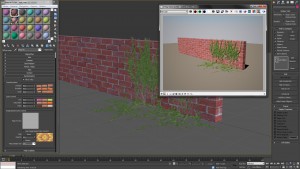
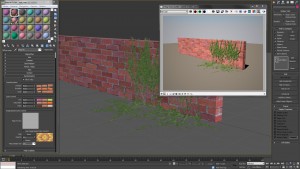
This is what I came up after some parameter adjustments. By the way: MightyTiles didn't create ivy ![]()
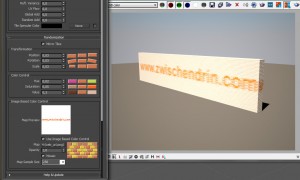
If you want more control over your texture, MightyTiles can even add 'Image Based Color Control' to directly modify the colors of your bricks with a texture and create a mosaic effect.
To change bump, displacement and reflection values randomly, you can adjust the corresponding values in the 'Surface' rollout.
I hope this will help you understand MightyTiles and I wish you loads of fun with this great plugin!
MightyTiles demo out now!
Go and get your demo version of MightyTiles on www.zwischendrin.com!
MightyTiles plugin out now!
MightyTiles is finally available on zwischendrin.com. MightyTiles is a plugin for 3D Studio Max version 2008 - 2012. It gives you the power of creating realistic looking high resolution tile-based textures like brick walls, tile floors, parquet, cobblestone pavements and many more. All you need is photos of single bricks, cobblestones, parquet, etc. Almost anything can be adjusted and modified by a high number of parameters that procedurally randomizes the look of every single tile for maximum realism of your high resolution tile-based texture. MightyTiles comes with not more or less than eight tile sets for your quick start.
MightyTiles is highly optimized in comparison to his predecessor and uses less memory by stitching the tiles together in one huge texture with almost an endless number of random customized tiles. Also new is that MightyTiles no longer makes use of mip-maps though its high resolution textures are created camera-dependent during the rendering process.
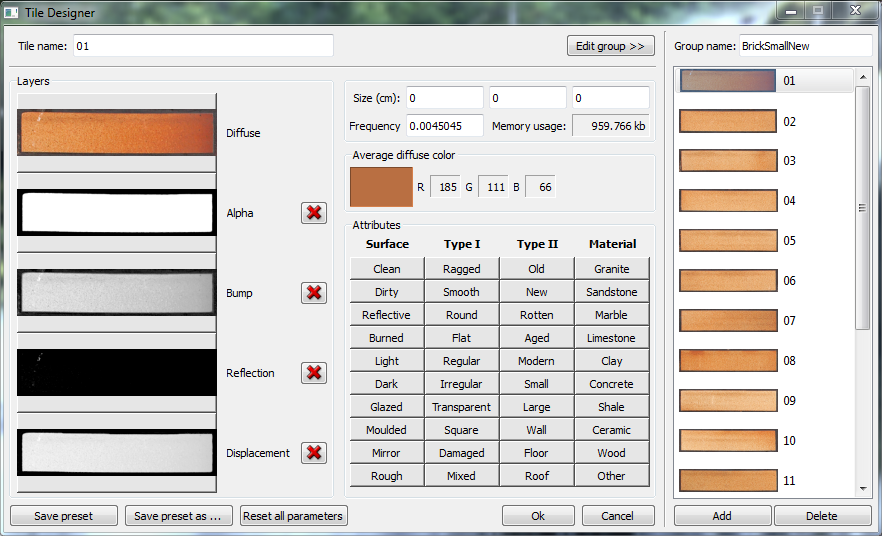 Keep the outline of your tiles and tile maps with the new MightyTiles 'TileDesigner'. The TileDesigner lets you create and edit your own tile sets. There are a lot more new features provided with the new MightyTiles - too many to write them down here. So check it out on your own on zwischendrin.com. Stay alert: tile sets will be published soon, as well.
Your team of zwischendrin.com
3D Studio Max 2013 out now!
It's time for a new version of 3D Studio Max and other Autodesk products: 2013.
For all those lucky Autodesk subscription members out there it's time to start to download!
Not all subscription members get access to the download immediately so don't panic if you don't see a download, yet. (Like me... ![]() )
)
SnowFlowPro – OUT NOW!
We are taking realistic snow generation in 3ds Max to a new level!
Besides adding new features and improving the look and usability of our site, we have spent the last months developing a completely new version of SnowFlow. Re-coded from scratch, it features highly decreased calculation times and improved quality of the generated snow. Depending on the complexity of the scene, the snow generation process can be around 100 times faster (no – that's not a typo!). Challenging scenes that would not have been possible to snow up with the old SnowFlow (at least not within reasonable time), even on high-end systems, will now be literally ready within a few minutes.
Like many of you requested, there is now a demo version available, so you can try out SnowFlow before buying it. For the first two months, there will be a special upgrade offer: If you already own one or more SnowFlow 1.8 licences, you can upgrade to SnowFlowPro for €65 only!
And if you purchased your previous version after December 01, 2011 (GMT+01:00), you can even get it for the fabulous price of €48 only!
VRay 2.20.02 released
Only a short time after the release of SP2 for VRay (2.20.01) Chaosgroup released version 2.20.02 which fixes some bugs, for example an error in VRay Lens Effects which lets 3D Studio Max crash immediately after rendering.
SnowFlowPro in action
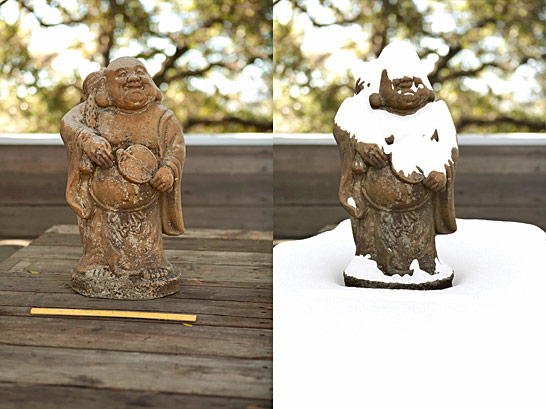
This little 3D buddha statue created from several images with the free software 123DCatch was covered with snow by the new SnowFlowPRO. This new version of SnowFlow will be released at the beginning of next year. is OUT NOW!
How to create HDRI panoramas with VR Drive 2 and AutoPano Giga
I thought it would be cool do write a tutorial on how to shoot and stitch an HDRI. Maybe it helps our scouts or someone else trying to produce HDRI panoramas.
A little backgound information:
The new Roundshot VR Drive 2 is a great tool and everyone who owns this piece of hardware is really looking forward to an upcoming feature called "HDR mode". This firmware upgrade will enable you to shoot HDR panoramas with a single click on a button. This mode is currently under development and until now a release date is not in sight.
So what to do until this mode gets released? I will tell you how we to it.
You have to shoot several panoramas, each with its own exposure settings. This makes lots of images. 18mm lense, 1EV steps, 15% overlapping with a Canon 450D makes about 288 pictures. More pictures would lead to higher dynamic range but that should be good enough for most of our purposes. The process of taking these panoramas is simple. You set an exposure on your camera and wait until the VR Drive 2 is ready with shooting. You change the exposure and repeat these steps until you captured as many panoramas as possible.
Ok. Now we got lots of single images. Now comes the "fun" part. ![]()
We don't want to stitch them manually, of course. So we take AutoPano Giga, a great software for stitching panoramas. Although AutoPano does a good job on that, a new problem arises: overbright images. Even the best software can't generate links between images if the images are pure white. This often happens when you take an HDRI outside and the sky is really bright.
Here is a really nice workaround: we create HDRIs for each tile/picture of the HDR panorama. In our case we get 32 single HDRIs which we stitch together in AutoPano (yes, AutoPano can even stitch HDRIs from HDRIs!).
"How to create these HDRIs? Do you bracket photos after shooting?" Yes. I wrote a little application that detects photos inside a folder and sends them to Picturenaut. Picturenaut is a free software that can merge LDRIs (standard photos) into HDRIs and even tonemap those HDRIs. We are only interested in one part of Picturenaut called MKHDRI, a command line tool to make HDRIs. I will release my little application soon, so stay tuned!
Now we are ready to stitch. We have 32 .hdr files and want to feed them to AutoPano. One little step makes this a lot easier: do exposure corrections! Don't fear, you will not make any defect to your HDR images. Don't tonemap them! Just correct them to look neither too overexposed nor underexposed. Open AutoPano and let it automatically stitch your images together. If this is done use the following settings to render out your HDRI panorama:
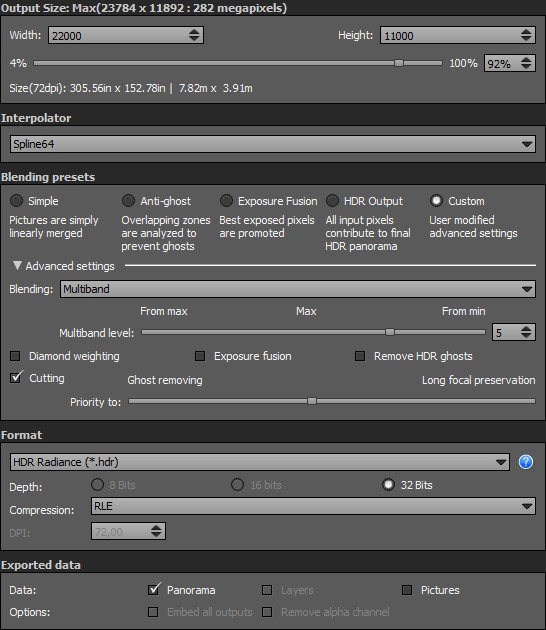 Theses settings are essential! I tested lots of settings and came out with these. The Multiband level can be changed if you like but 5 seems to be great. Width and Height are linked to your panorama, of course.
 ![]()
If your panorama stitched nearly perfect you should save it as a Template (File -> Save as Template) so your next panoramas (with 32 single HDR images) will have less faults.
Your HDRI panorama is ready to get retouched! Use your favorite image editing software to correct the nadir and things like that and you will get a perfect HDRI. Have fun!
